Backyard Nature Collection: Setting Up an Observation Station
Turn a corner of your yard into a living laboratory. This guide walks you through setting up a backyard nature observation station where kids collect, examine, and document their natural finds all season long.
By The Slow Childhood
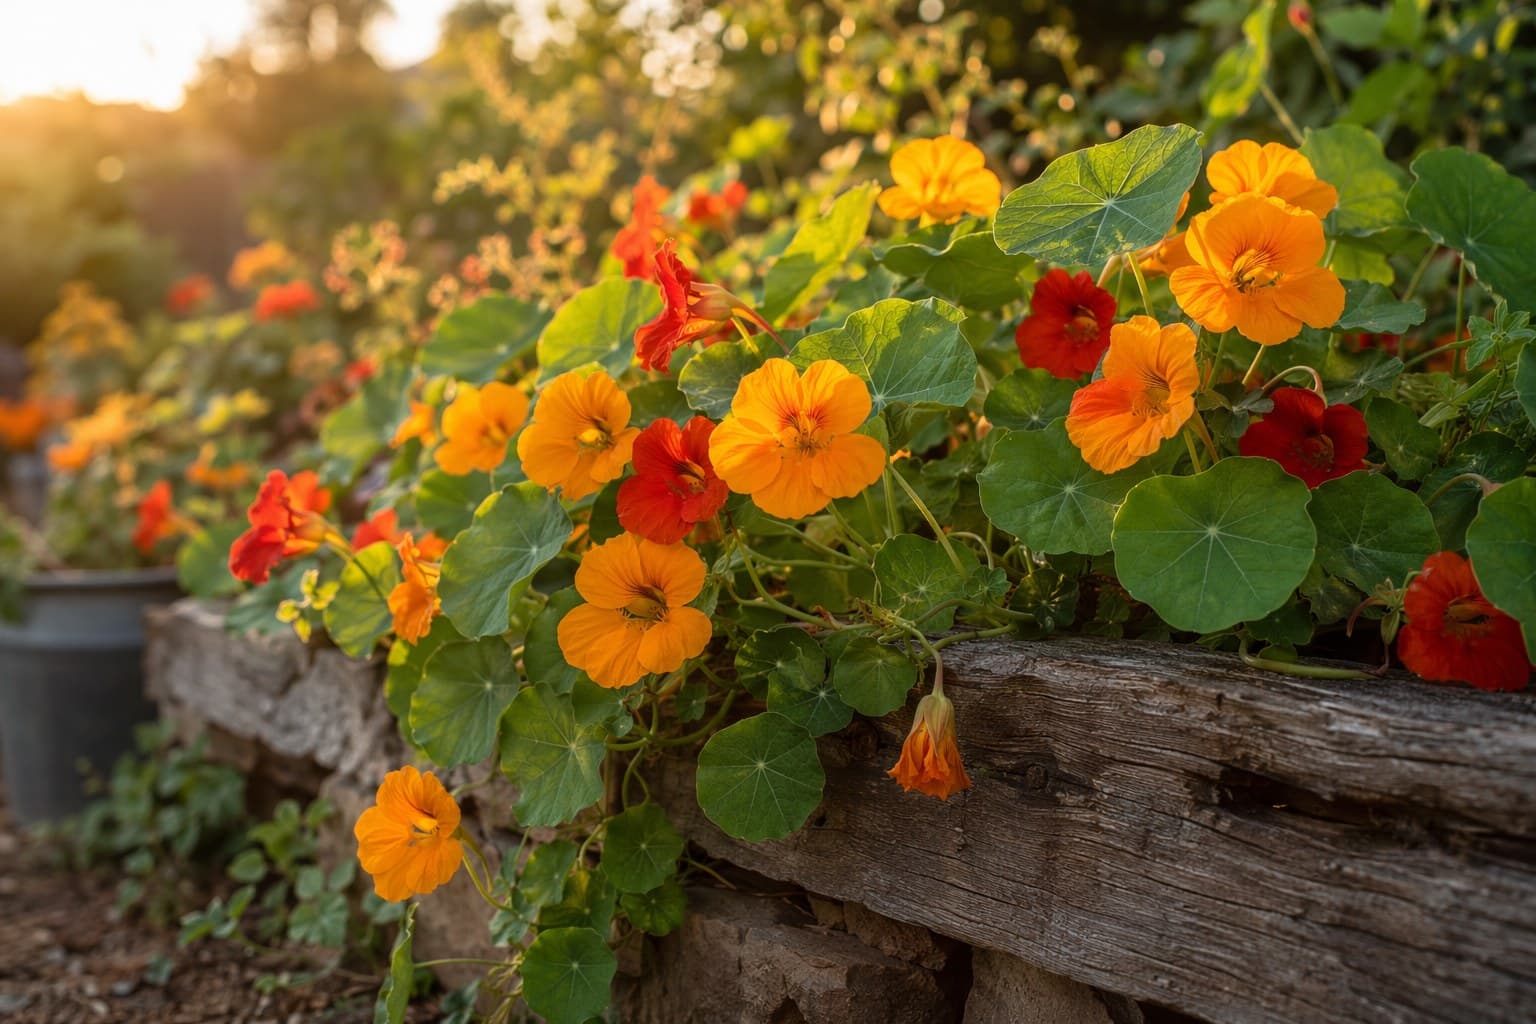
There is a particular kind of quiet that settles over a child who has found something. A beetle with an iridescent shell. A feather with a band of grey they have never noticed before. A seed pod that rattles. In that moment they are not bored, not asking for a screen, not whining about the heat — they are simply absorbed. A backyard nature observation station is a way to make that moment repeatable. Instead of the treasure getting lost in a pocket or dropped on the porch steps, it has a home: a small, dedicated zone in your yard where kids collect, examine, sort, and record the things they find. You do not need acreage or a budget. A corner of the patio, a card table, and a handful of jars will do. This guide walks through how to set one up, stock it, and keep it alive through the season.
What a Nature Observation Station Actually Is
Strip away the Pinterest aesthetics and a nature station is just two things: a place to put natural finds and a few tools to look at them more closely. That is it. The Cornell Lab of Ornithology and naturalists going back to Charlotte Mason have made essentially the same point — children learn the natural world by handling it, not by reading about it. A station simply lowers the friction. When the magnifying glass lives in a known spot and there is always an empty jar waiting, a five-minute discovery turns into twenty minutes of focused attention.
It also reframes the yard. Once a child knows there is a station to fill, an ordinary trip to take out the recycling becomes a hunt. They start looking — under the log, in the gutter, along the fence line. That shift in attention is the whole point.
Choosing the Spot
Pick a location based on three things: shade, access, and surface.
Shade matters more than people expect. A station baking in full afternoon sun gets abandoned by July, and specimens dry out or cook. Aim for dappled light or morning sun — under a tree, against the north side of the house, beneath a patio cover.
Access means your child can get to it without help. A station behind a locked gate or up on the deck where the table is too tall for a four-year-old will not get used. Put it at their level, on their path.
Surface is whatever you already have. A weatherproof side table, an old workbench, a wide windowsill on a covered porch, even an upturned crate. If you want something purpose-built and weather-resistant, a small outdoor storage box doubles as both a tabletop and a place to stash tools when rain rolls in. This same logic of building dedicated, child-height zones is something I lean on indoors too — the principles in our guide to budget homeschool room setup ideas translate almost directly to outdoor spaces.
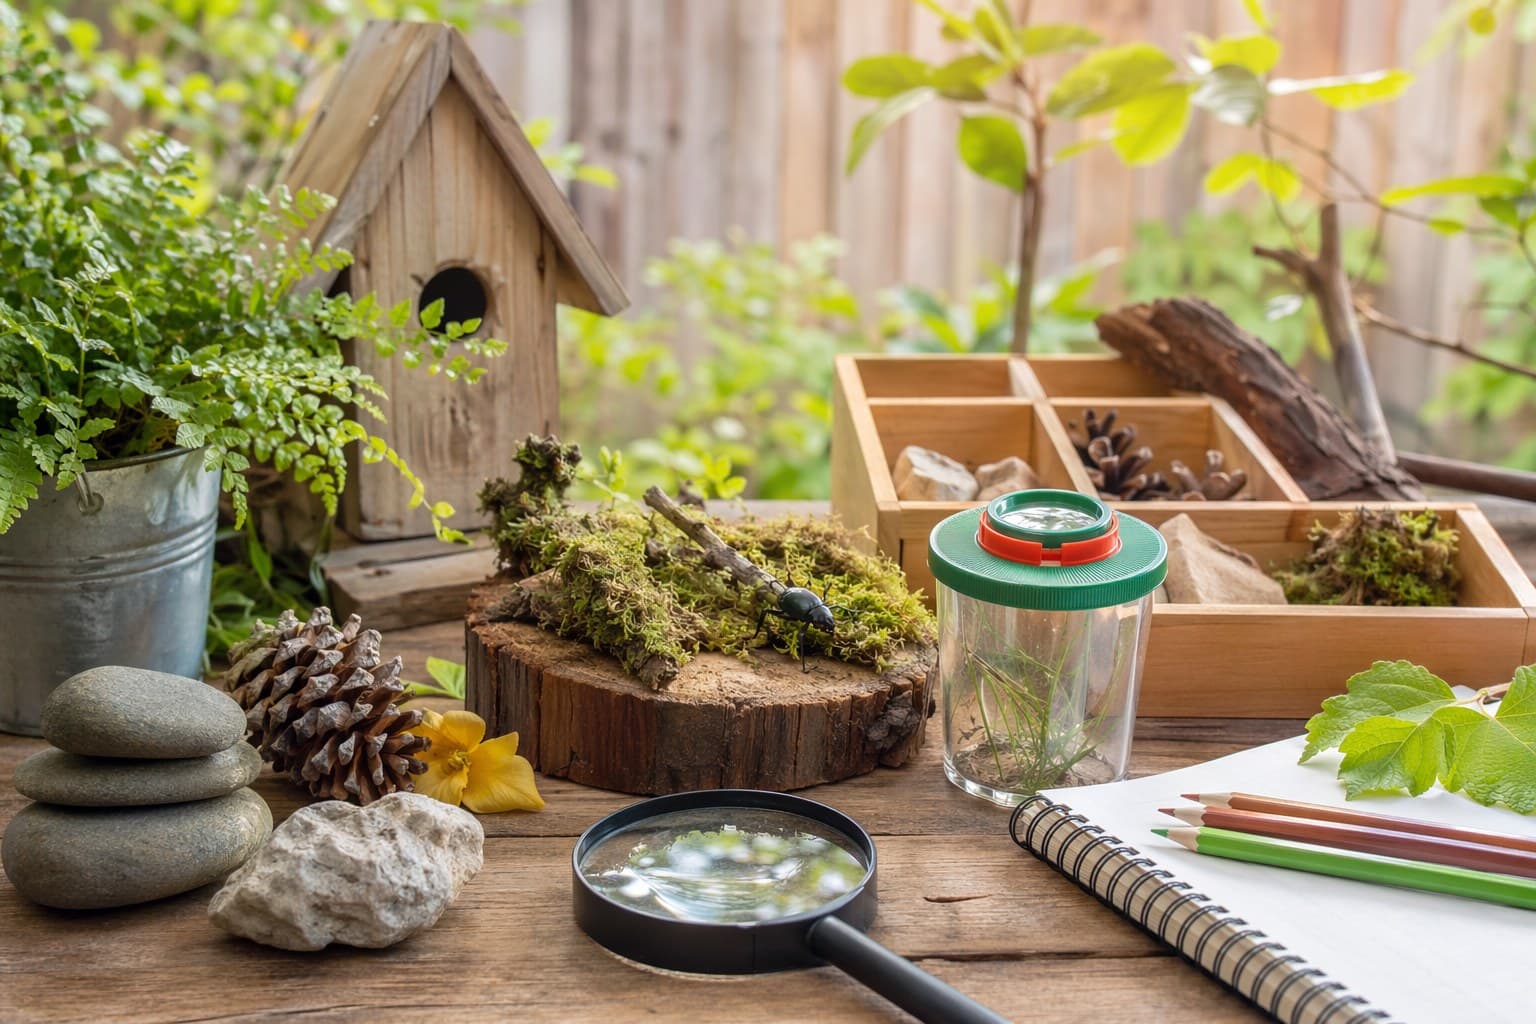
The Three Zones Every Station Needs
The stations that get used long-term tend to organize themselves into three functions. You do not have to label them, but it helps to think in these terms.
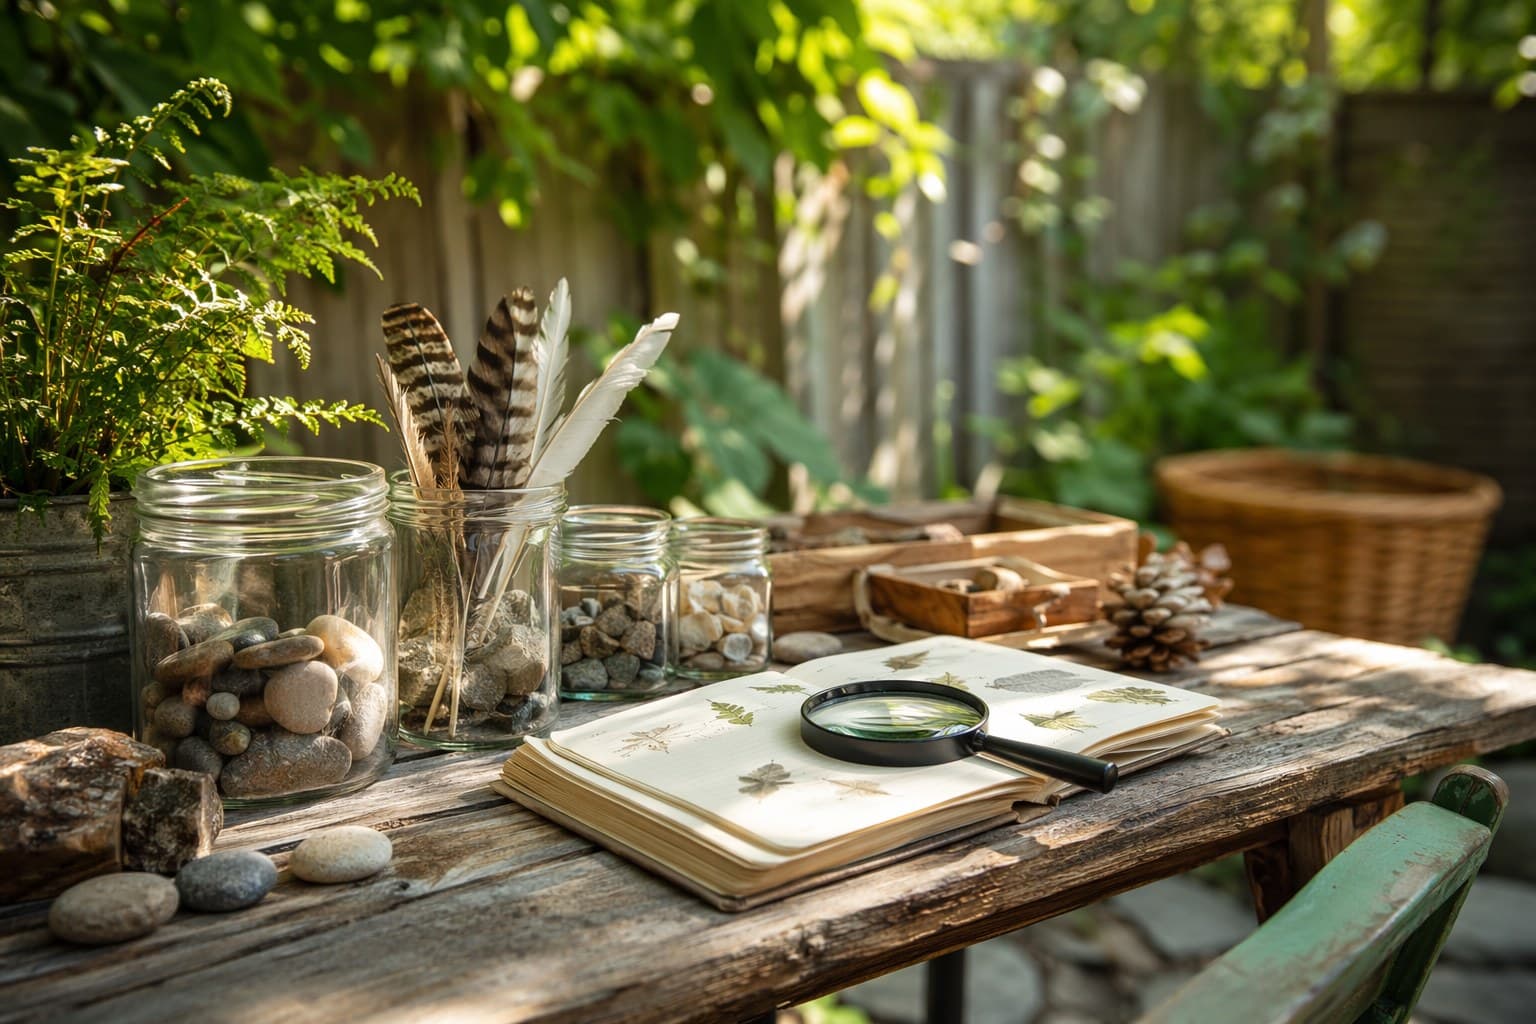
1. The Collecting Zone
This is where fresh finds land. The key tool here is containers — lots of small, clear ones. Kids are far more careful with a delicate moth wing when it has a proper home rather than a sweaty fist. A set of clear collection containers with lids covers most needs, but recycled jam jars, a muffin tin for sorting, and an egg carton for tiny treasures work just as well. For live insects, choose containers with ventilated lids and a one-day release rule.
2. The Observation Zone
This is the heart of the station — where finds get examined, not just stored. The single most valuable tool you can add is a real magnifying lens. The plastic toy versions scratch and distort; a proper glass hand lens magnifying glass at around 5x to 10x turns a dandelion seed into a feathered parachute and a fly's eye into a geodesic dome. Children gasp the first time. Keep it tethered or in a fixed spot so it does not wander off.
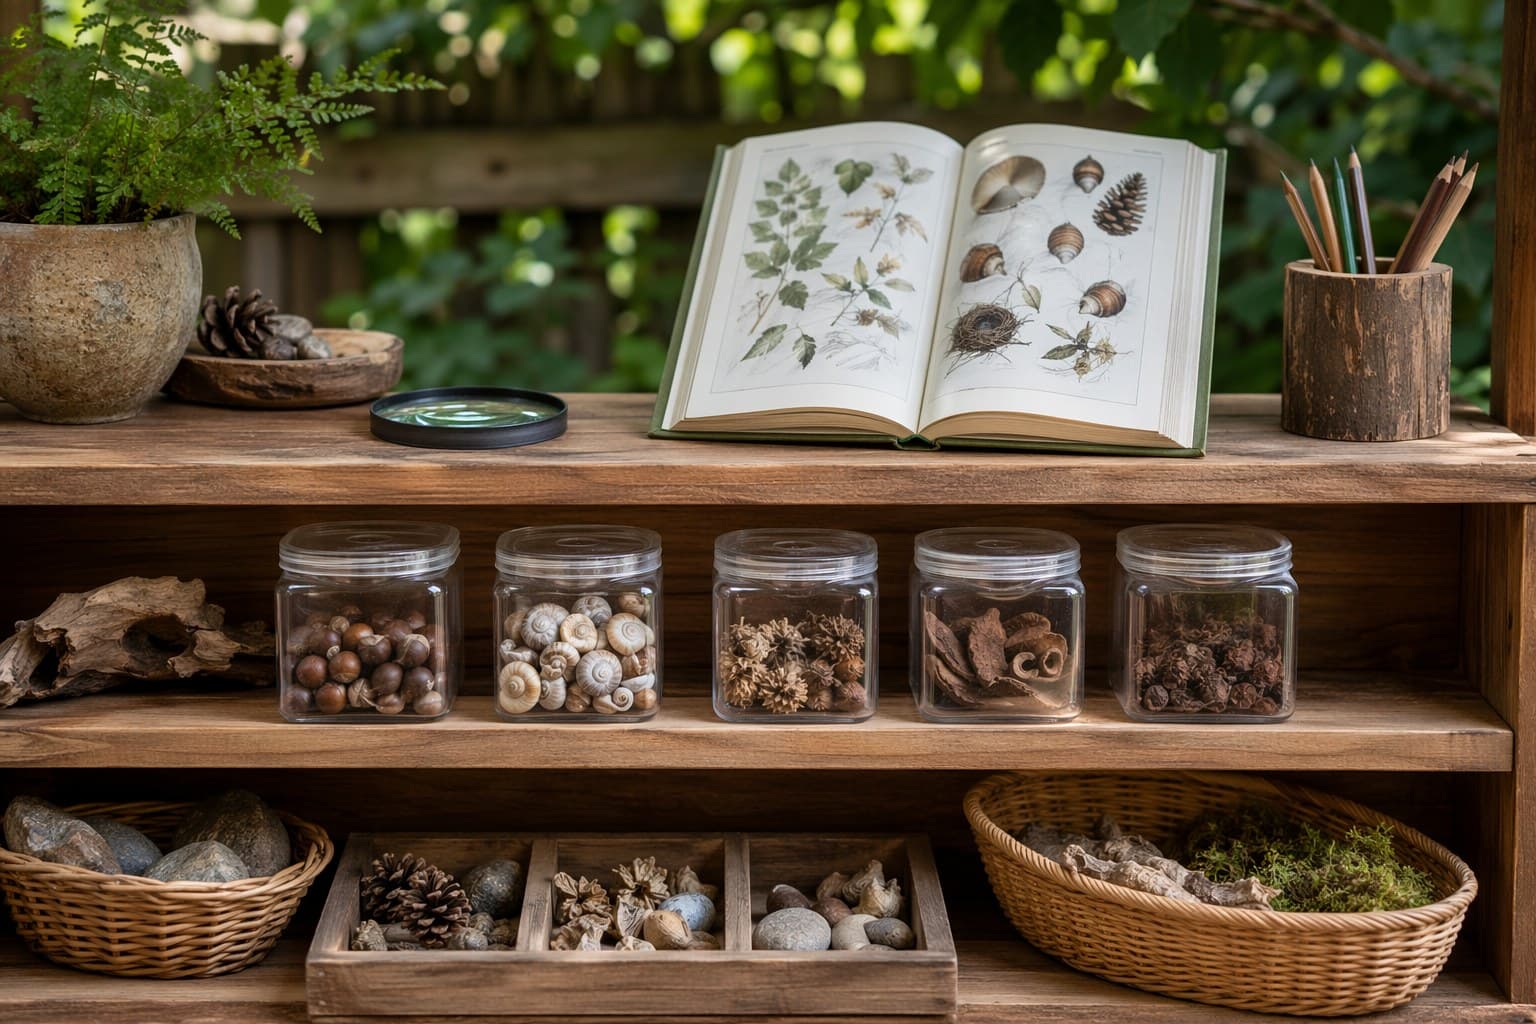
Pair the lens with a nature identification field guide for your region. Identification is where casual collecting becomes real learning — naming a thing makes a child notice it everywhere afterward.
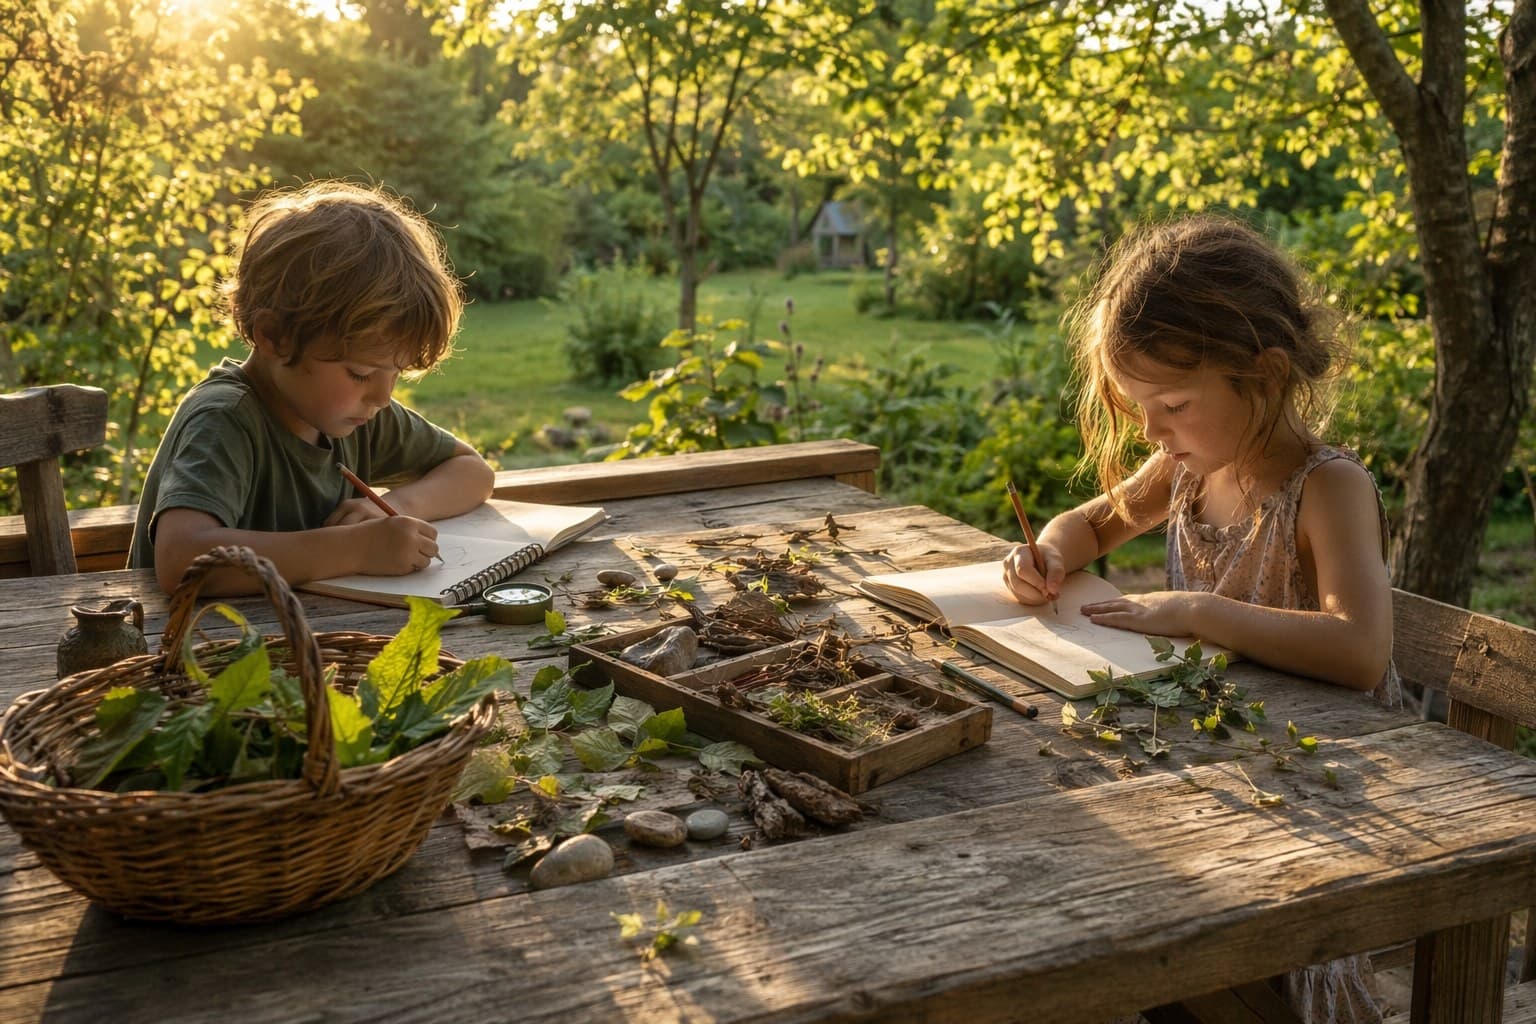
3. The Documentation Zone
Recording is what separates a pile of rocks from a study. An observation journal lives here, along with pencils and maybe a roll of tape for affixing flat specimens like pressed leaves. Documentation can be as simple as a toddler's scribble and a date you write in for them, or as detailed as an eight-year-old's labeled diagram. If your family takes to the recording side of things, our full guide to nature journal ideas for kids has dozens of prompts organized by season.
A Simple Setup You Can Build This Weekend
Here is a no-fuss version that takes about half an hour:
- Place your surface in the shade your child can reach.
- Add a sorting tray — a muffin tin, egg carton, or compartment box for separating finds by type.
- Set out 4 to 6 clear containers with lids, a few empty and a few labeled (rocks, seeds, bugs).
- Anchor the magnifying glass in a fixed, obvious spot.
- Prop the field guide open or upright so it invites browsing.
- Leave the journal and a pencil out, dated and ready.
- Add one small basket for the day's haul, so finds have a landing place before sorting.
That is a complete, functional station. Resist the urge to over-equip it. The empty space and the open jar are the invitation.
Keeping It Alive Through the Season
The hard part is not setup — it is keeping a station from becoming a graveyard of forgotten pinecones by mid-summer. A few habits keep it fresh:
Curate weekly. Once a week, sit down together and decide what stays and what goes back outside. Spoiled finds get composted; the standouts get journaled or moved to a "keeper" shelf. This ritual teaches editing and care, and it keeps the station from overflowing.
Rotate a focus. Spend one week on seeds, the next on insects, the next on rocks. A narrow focus gives aimless collecting direction and naturally deepens knowledge.
Tie it to walks. A station gives every outdoor outing a purpose. Heading out for a nature scavenger hunt and bringing the finds back to examine under the lens closes a satisfying loop. The same goes for ordinary play in the yard — the routines in our roundup of outdoor nature activities for kids feed the station beautifully.
Model curiosity. When you pick up the magnifying glass yourself and say "huh — look at that," you signal that this is real, not a chore. Children mirror genuine interest far more than instruction.
Adapting the Station by Age
Toddlers (2-3): Keep it to safe, large, non-swallowable items — pinecones, big leaves, smooth stones. The work is gathering and sorting into bins. Skip the journal; just narrate what they found.
Preschoolers (4-5): Introduce the magnifying glass and simple sorting categories (smooth/rough, big/small). Documentation is dictation — they describe, you write, they add a scribble or sticker.
Early elementary (6-8): Now the field guide earns its keep. Children identify finds, write a label and date, and start noticing patterns. Add a simple ruler for measuring.
Older kids (9+): Encourage longer-term studies — tracking which insects appear as the season warms, mapping where in the yard different plants grow, sketching the same flower weekly as it opens and fades. This is genuine field biology in miniature.
Frequently Asked Questions
What if my child loses interest after a week? Almost every station goes through a quiet stretch. Do not dismantle it. Move it to a slightly new spot, swap the focus to something seasonal (the first cicada, mushrooms after rain), or invite a friend over to use it together. Interest comes in waves, and the empty station waiting in the corner is a standing invitation to come back.
Do I need to identify everything they find? No. "I don't know — let's look it up" is one of the most valuable sentences you can model. The goal is the habit of looking closely and wondering, not a complete catalog. The field guide is a tool for satisfying curiosity when it arises, not a checklist to complete.
How do I handle the inevitable dead bug or wilted flower? Make composting or returning it part of the rhythm. A short conversation about decomposition turns a "gross" moment into a lesson, and the weekly curating habit prevents the station from accumulating decay.
The Real Reward
A backyard observation station costs almost nothing and asks almost nothing of you beyond a corner of your yard and a willingness to say "show me." What you get back is a child who notices — who stops on the sidewalk to crouch over an ant trail, who comes running with a cupped hand and shining eyes, who has learned that the most interesting things in the world are usually free and underfoot. Set up the table, fill a jar, and leave the magnifying glass where small hands can reach it. The yard will do the rest.
Frequently Asked Questions
- What age is a backyard nature station appropriate for?
- A nature observation station works for children from about age 2 through the early teen years, with the activities scaling up as they grow. Toddlers gather and sort; preschoolers observe with a magnifying glass and dictate notes; elementary kids identify finds with a field guide and keep a written journal. Because the station is open-ended, siblings of different ages can use it side by side, each engaging at their own level.
- Is it safe to let kids collect bugs and plants in the yard?
- In most yards it is, with a few sensible rules. Teach children to observe living creatures in a ventilated container and release them within a day, to avoid plants you have not identified as safe, to never taste anything, and to wash hands afterward. Learn the few genuinely hazardous plants and insects in your region (poison ivy, stinging caterpillars, certain spiders) and point them out so kids know what to leave alone. A regional field guide makes this far easier.
- How much does it cost to set up a nature observation station?
- You can build a perfectly good station for under twenty dollars, and many families spend nothing at all by repurposing what they have. An old TV tray or low shelf, clean recycled jars, an egg carton for sorting, and a notebook cover the basics. The optional upgrades that add the most value are a real glass magnifying lens, a set of clear lidded containers, and a regional field guide, which together still come in well under fifty dollars.
Enjoying this article?
Get more ideas like this delivered to your inbox every week.