Bicycle Skills for Young Children: Teaching Balance and Confidence
A calm, no-pressure guide to teaching young children to ride a bike — why balance comes before pedaling, how to skip training wheels, and the exact steps that build confidence over a few patient spring afternoons.
By The Slow Childhood
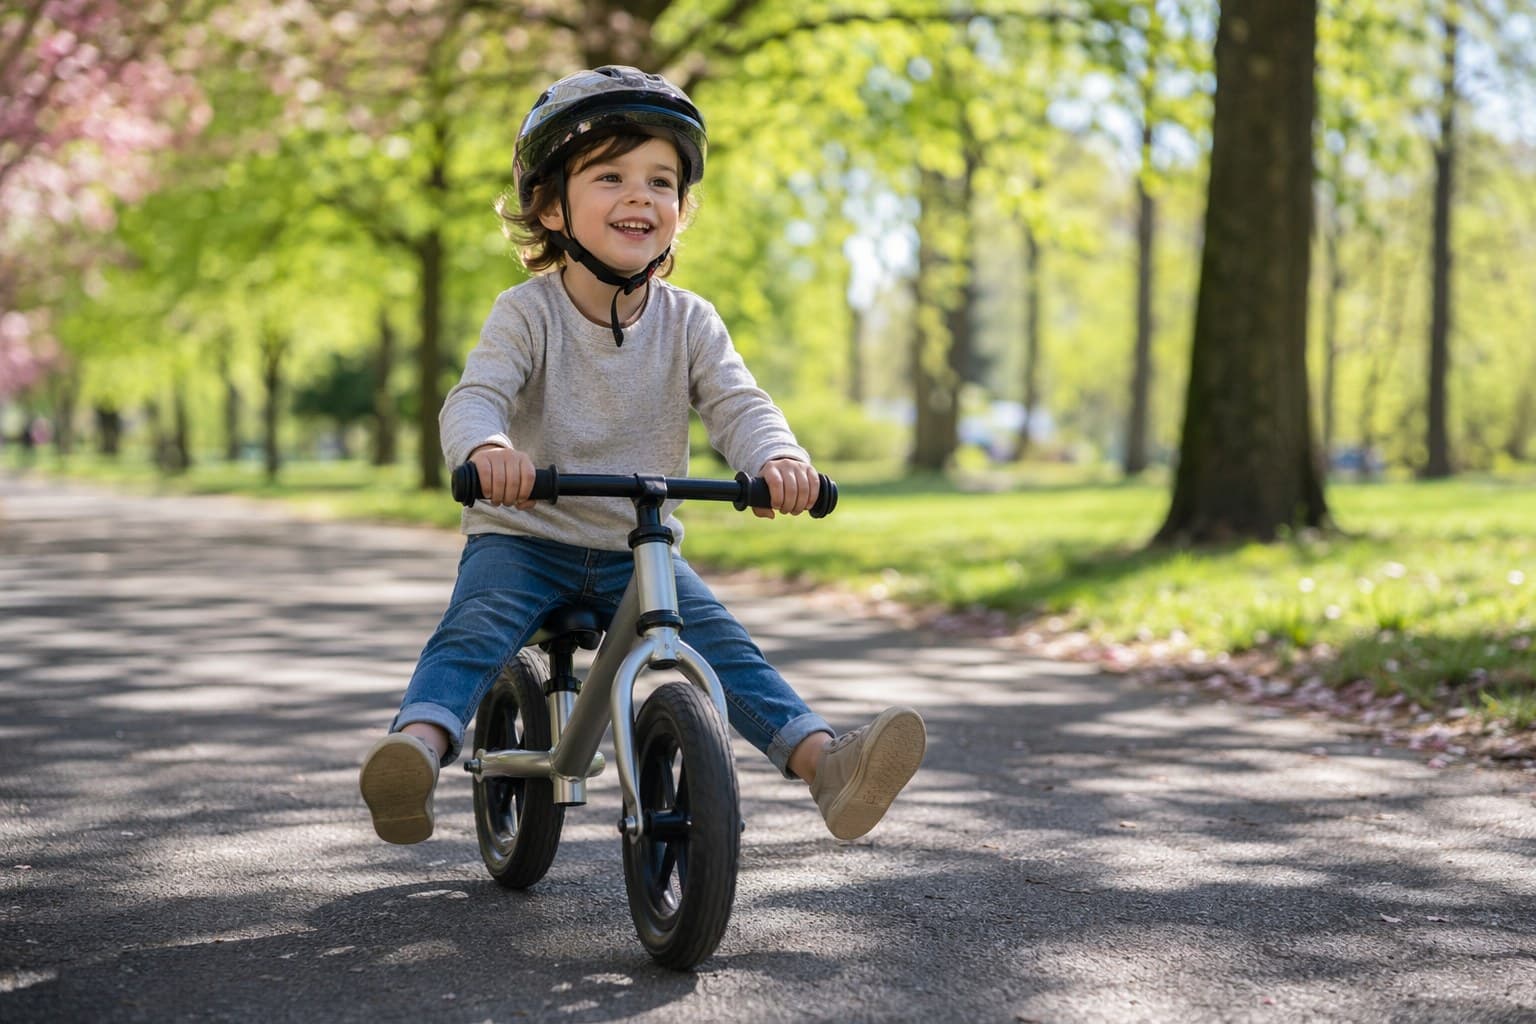
There is a particular kind of joy in watching a child ride a bike for the first time — that wobbling, grinning, slightly terrified moment when they realize the wheels are holding them up and you are no longer holding the seat. It is one of childhood's genuine rites of passage, and spring is the season it most often happens, when the sidewalks dry out and the afternoons stretch long enough for one more loop around the block.
But here is what nobody tells you at the bike shop: the way most of us were taught to ride — training wheels, then a sudden, scary removal, then a parent running alongside holding the seat until their back gives out — is the slow, frustrating way. There is a calmer path. It honors how children actually learn balance, it removes most of the fear, and it tends to produce confident riders faster and with far fewer tears. This guide walks through that path, step by patient step.
Why Balance Comes Before Pedaling
The hardest part of riding a bike is not pedaling. Pedaling is just pushing your feet in circles, something a two-year-old can do on a tricycle without a moment's thought. The hard part — the genuinely new and counterintuitive skill — is balancing on two narrow wheels while steering to stay upright.
Riding a bike works through a quiet bit of physics: when a moving bike starts to tip one way, you steer slightly into the fall, and the bike rights itself. Skilled riders do this constantly, dozens of micro-corrections per second, entirely without thinking. A child cannot learn that subconscious dance while also managing pedals, brakes, and the fear of falling all at once.
This is exactly why training wheels do not work the way we hope. By keeping the bike rigidly upright, training wheels prevent the child from ever feeling — and learning to correct — that small initial tip. The child learns to pedal and steer, but never to balance. Then the wheels come off, and they are essentially starting from zero, except now they are bigger, more fearful, and convinced that bikes are dangerous.
The fix is to teach balance and steering first, on their own, with no pedals to complicate things. That is the entire philosophy behind the balance bike, and it is the foundation of everything that follows.
Start With a Balance Bike (Ages 18 Months to 4)
A balance bike is a small two-wheeler with no pedals and no chain. The child sits on the seat, walks the bike forward with their feet, and — once they get going — lifts their feet and glides. That gliding is the whole point: it is pure, undistracted balance practice.
The single most important feature is weight. A child can comfortably handle a bike that weighs no more than about 30 percent of their body weight, and lighter is always better. A good balance bike like the Strider 12 Sport weighs under seven pounds, which means a toddler can pick it up, right it after a tumble, and maneuver it without frustration. Skip the heavy, character-branded department store models — at 12 or 14 pounds, they fight the child every step of the way.
Fit matters too. Your child should be able to sit on the seat with both feet flat on the ground and a slight bend in the knee. Look for an adjustable seat and handlebars on a true toddler balance bike so it grows with them through the toddler and preschool years.
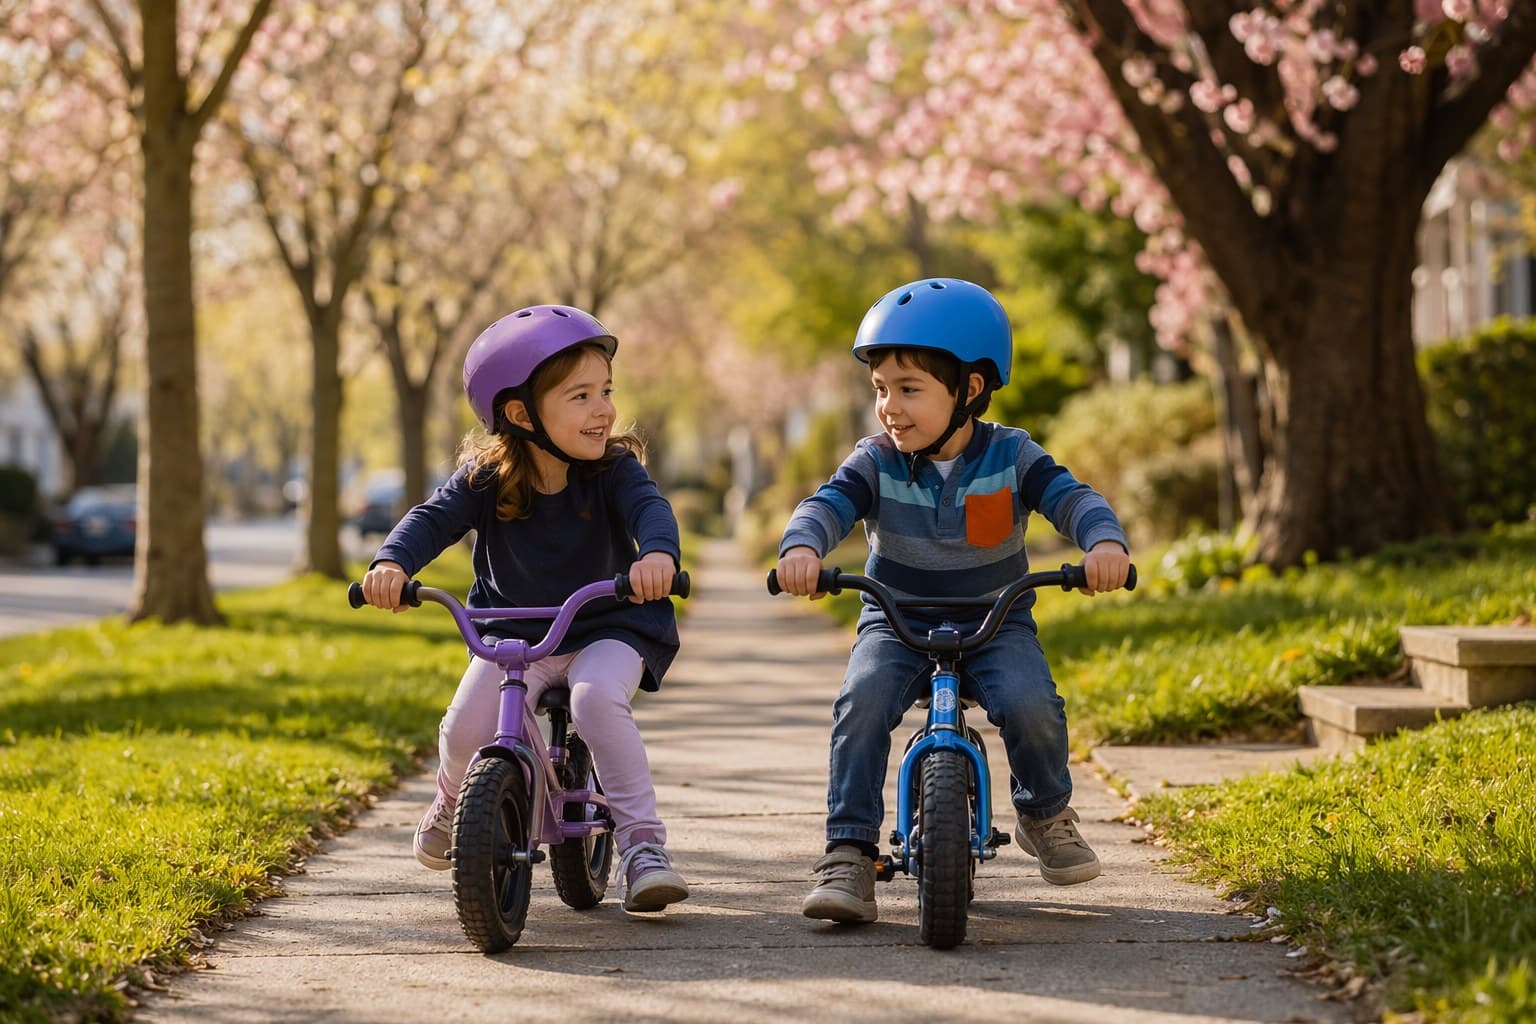
Then do almost nothing. Let them walk it around the driveway, scoot it down the gentlest slope, and discover gliding on their own timeline. Resist the urge to instruct. Within a few weeks of casual play, most children are coasting with their feet up for several seconds at a stretch — and at that moment, they have already mastered the hardest skill in cycling.
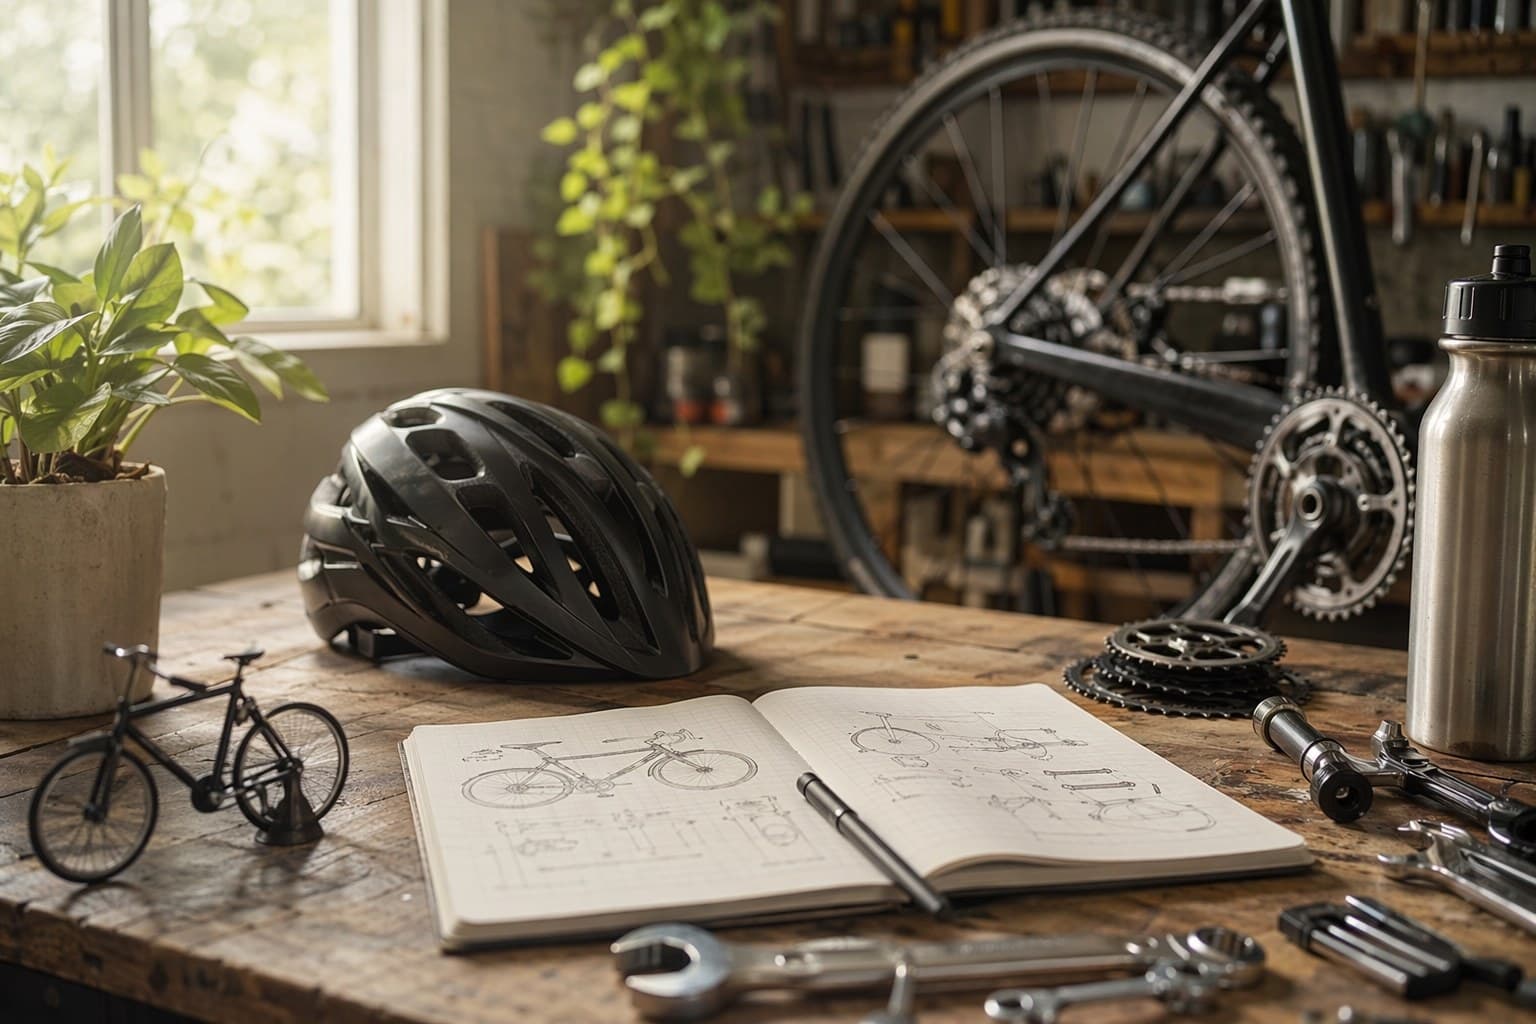
The Gear That Actually Matters
You do not need much, but two things are genuinely important and one is pure delight.
First, a helmet, every single time, with no exceptions ever. A correctly fitted, certified kids bike helmet should sit level on the head — about two finger-widths above the eyebrows — with the side straps forming a Y just below each ear and the chin strap snug enough that only one or two fingers fit underneath. A helmet perched back on the crown of the head, the way kids love to push it, protects almost nothing. Make helmet-on a non-negotiable ritual from the very first ride, before there is any habit to break.
Second, dress for falling. Closed-toe shoes with a flat sole, long pants or leggings on cool spring days, and gloves if your child is prone to scraped palms. Falls are part of learning, and a child who is dressed to fall gets up faster and less rattled.
Third — and this one is just for the soul — let them choose a small personal touch. A set of handlebar streamers or a clip-on bell turns the bike from equipment into their bike, which does more for motivation than any pep talk you could give.
The Step-by-Step Transition to a Pedal Bike
When your child can glide confidently with both feet up for a good stretch — steering, coasting, and stopping comfortably with their feet — they are ready for pedals. Here is the calm, proven sequence.
Step one: choose the right pedal bike. Measure your child rather than buying by age. A 12-inch wheel suits roughly ages 2 to 4, a 14-inch fits 3 to 5, and a 16-inch fits 4 to 6. A low step-through frame bicycle lets a nervous child mount and dismount without swinging a leg over a high bar, which removes one more source of fear. Lower the seat so both feet reach the ground flat — you can raise it later once they are confident.
Step two: take the pedals off first. Use a pedal wrench to remove both pedals, turning the new pedal bike into a temporary, slightly larger balance bike. Let your child re-establish their gliding rhythm on the heavier, taller bike for a session or two. This bridges the gap so the only genuinely new thing left to learn is pedaling.
Step three: reattach the pedals and find a gentle slope. A grassy gradual incline or a quiet driveway with a slight downhill is ideal. Have your child glide down with their feet on the pedals, getting used to where the pedals sit, before you ask them to push.
Step four: the launch. Have them place one pedal at the two-o'clock position, push off with a strong stomp on that pedal, and start pedaling. Do not hold the seat and run alongside — instead, give a steadying hand on their shoulders or upper back for the first push or two, then let go. Holding the seat actually steers the bike for them and teaches dependence; a light touch on the body lets them feel their own balance.
Step five: brakes and starting. Once they can ride a straight line, teach them to start on their own and to use the brakes smoothly — squeeze, do not slam. Practice stopping and putting a foot down. This is where genuine independence takes root.
If you skipped the balance bike stage or your child is older and starting from scratch, the pedals-off method above is your best friend. It is far gentler than the old training-wheel-then-panic approach, and many five- and six-year-olds learn in a single focused afternoon. For a fuller breakdown of which specific bikes fit which ages, our guide to the best bikes, balance bikes, and ride-on toys by age walks through every stage.
What If You Already Have Training Wheels?
Plenty of families already own a bike with training wheels, and that is fine — no need to buy something new out of guilt. The trick is to convert it. Take the training wheels off, remove the pedals, and lower the seat until both feet sit flat. You have just made a balance bike. Let your child scoot and glide on it for a week or two of relaxed play, then reattach the pedals and follow the transition steps above. Adjustable hardware like a basic training wheel set can stay in the garage as a backup, but most families find they never need to put them back on.
Keeping It Joyful, Not Stressful
The temptation, once you understand the method, is to turn bike-learning into a project with daily drills and visible progress. Don't. The fastest route to a confident rider is short, happy sessions that end while the child still wants more — fifteen or twenty minutes of play, then off to something else.
Let the bike be one part of a wider outdoor life rather than a goal to be conquered. Pair riding sessions with the kind of unhurried outdoor nature activities that make the whole afternoon feel like play, and let your child coast over to look at a bug or a puddle without you redirecting them back to "practice."
Watch your own language, too. "You almost had it!" quietly tells a child they failed. "Did you feel how the bike held you up that time?" tells them they are succeeding. Celebrate the gliding, the steering, the brave first push — not just the finished, pedaling result. And let bike care become a small, age-appropriate responsibility, wiping it down and parking it in its spot, the same way you would fold any other routine into a child's growing list of age-appropriate chores. A bike a child helps care for is a bike a child rides more.

Frequently Asked Questions
What is the best age to teach a child to ride a bike? Most children can begin a balance bike between 18 months and 2 years, as soon as they walk confidently and can straddle the bike with both feet flat. The pedaling transition typically clicks between ages 3 and 5, but there is wide normal variation and no reason to rush.
Should I use training wheels? Generally no. They hold the bike upright for the child, so the child never practices true balancing, and the eventual removal is often scary. A balance bike — or a pedal bike with the pedals temporarily off — teaches balance first, leaving pedaling as the only easy step that remains.
How long does it take to teach a child to ride a bike? With prior balance-bike experience, the move to pedals often takes twenty minutes to a couple of afternoons. Starting cold on a pedal bike can take days or weeks. Glide-and-coast time, on a balance bike or a pedals-off pedal bike, is the single biggest predictor of a quick, low-tears success.
The Long View
Teaching a child to ride a bike is not really about the bike. It is about a child learning, in their own body and on their own timeline, that they can do something that looked impossible an hour ago. The method matters because the calm path protects that feeling — it lets balance build quietly, removes the fear, and saves the triumph for the moment they actually earn it.
So lower the seat, buckle the helmet, find a gentle slope on a warm spring afternoon, and then mostly step back. Your job is not to hold them up. It is to give them the right bike, the right first steps, and the space to discover that the wheels were holding them up all along.
Frequently Asked Questions
- What is the best age to teach a child to ride a bike?
- Most children can start a balance bike between 18 months and 2 years, as soon as they walk confidently and can straddle the bike with both feet flat. The pedaling transition usually clicks somewhere between ages 3 and 5, though it varies widely. There is no race — a child who starts later but learns on a balance bike often becomes a confident rider in a single afternoon, while a child pushed onto a pedal bike with training wheels at age 4 may take much longer.
- Should I use training wheels?
- Most cycling instructors now recommend skipping training wheels. They keep the bike upright for the child, which means the child never practices the actual skill of balancing. Kids often develop a habit of leaning on the training wheels, then feel betrayed and scared when the wheels come off. A balance bike teaches balance first and steering second, so pedaling becomes the only new skill left to learn — and it is the easy part.
- How long does it take to teach a child to ride a bike?
- If your child has spent time on a balance bike, the move to a pedal bike often takes 20 minutes to a couple of afternoons. Starting from scratch on a pedal bike with no balance experience can take days or weeks of practice. The single biggest predictor of a fast, low-tears transition is prior glide-and-coast time on a balance bike or a pedal bike with the pedals temporarily removed.
Enjoying this article?
Get more ideas like this delivered to your inbox every week.


