DIY Herb Gardens for the Kitchen: Start Growing, Start Cooking
A practical guide to building a kitchen windowsill herb garden with kids — which herbs grow easiest, how to plant them, daily care kids can own, and how to actually cook with what you grow.
By The Slow Childhood

The first herb our kids ever grew was basil, started from seed in a chipped teacup on the kitchen sill in late April. Our youngest, who was three at the time, watered it with the enthusiasm of someone trying to put out a fire, and I was certain it would rot. Instead it sprouted in five days. By June it was a small bush, and the daily ritual of pinching a leaf, crushing it between her fingers, and holding it up to my nose ("smell, Mama, SMELL") had become one of those small, ordinary anchors that childhood is actually made of.
A kitchen herb garden is one of the most rewarding projects you can do with children, and one of the least intimidating. It does not require a backyard, a frost-free week, or any particular skill. It fits on a windowsill. It produces something you can taste within weeks. And because it lives in the heart of the home where you cook and eat, it pulls children into a daily relationship with a growing thing — watering, observing, smelling, and eventually cutting and cooking. This guide walks you through choosing herbs, planting them with kids, building a care routine children can own, and — the part everyone skips — actually using what you grow.

Why an Herb Garden Is the Perfect First Garden for Kids
Most gardening with young children fails for one reason: it takes too long. A pumpkin seed planted in May is a long, abstract promise to a four-year-old. Herbs solve this. Basil sprouts in three to seven days. Cress is edible in a week. Mint, once it gets going, grows so vigorously you will be begging it to stop. That speed is what keeps a child engaged and turns an idea into a habit.
Herbs are also remarkably forgiving. They tolerate the over-watering, under-watering, and general chaos that comes with shared care. And because they live in the kitchen rather than out in the yard, they get noticed and tended several times a day instead of being forgotten between weekend visits.
There is a Montessori thread running through all of this, too. Caring for a plant is classic practical life work — purposeful, real, and repeated daily. It develops concentration, sequencing, and responsibility in a way no worksheet can. If you want to build this into a broader rhythm of meaningful kitchen tasks, our guide to Montessori practical life in the kitchen pairs beautifully with growing herbs.

Choosing Your Herbs: Start With the Easy Four
Resist the urge to plant ten kinds of herbs at once. Start with three or four reliable performers, get a few wins, and expand from there. Here is where I would begin.
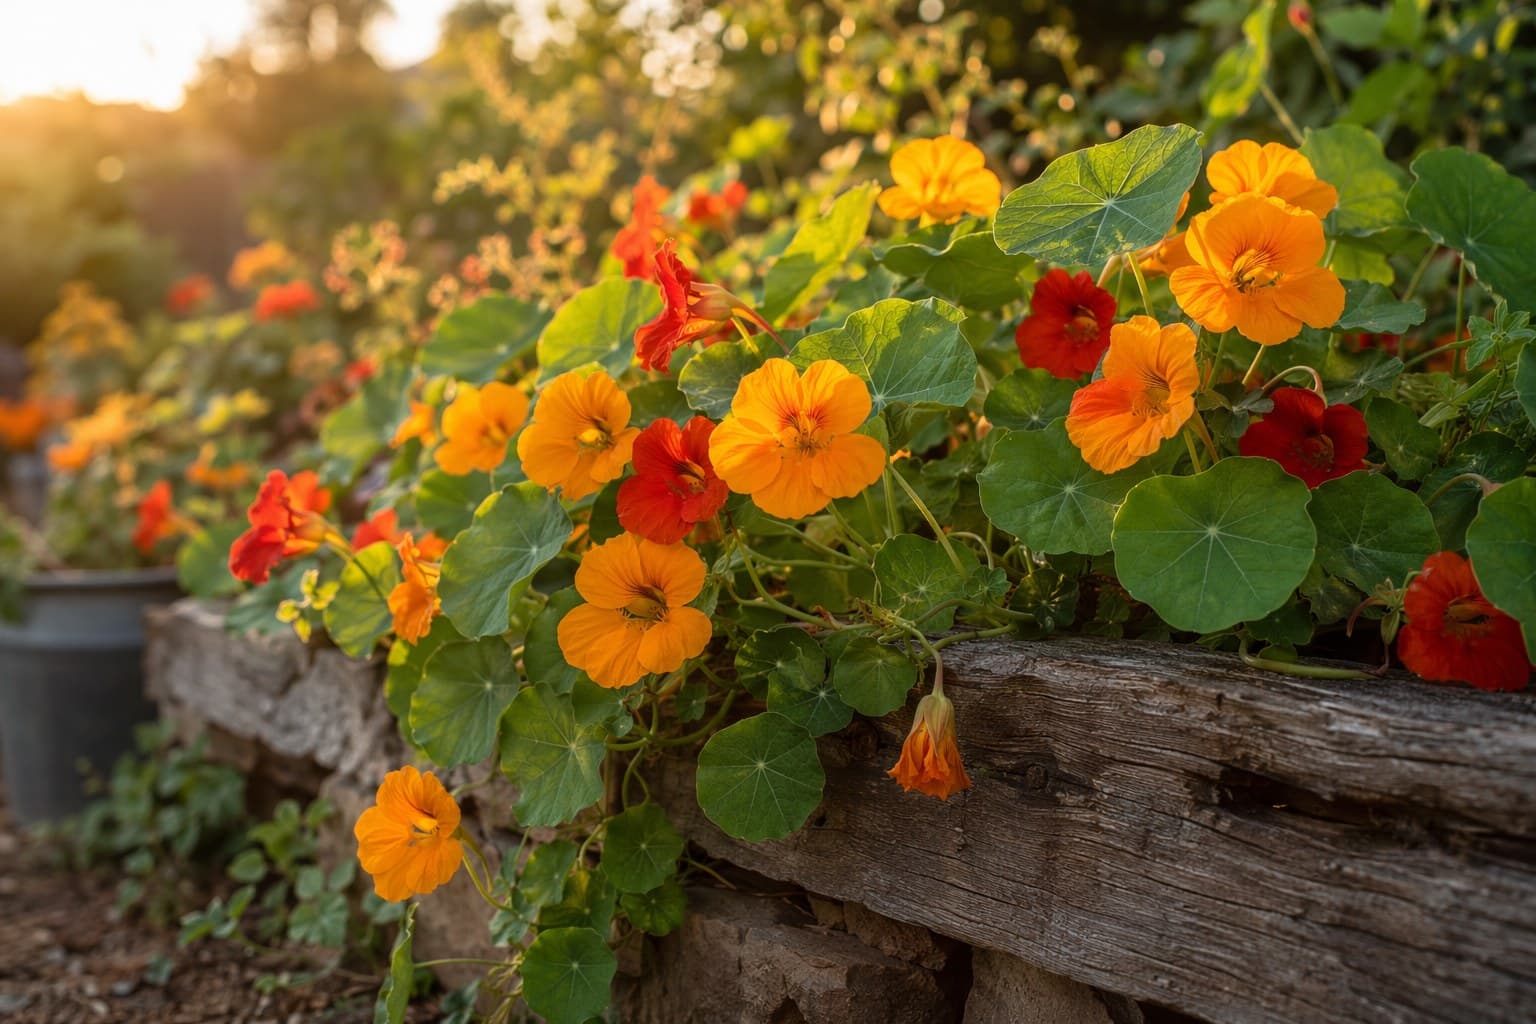
Basil is the showpiece. It germinates fast, grows visibly day to day, smells incredible, and goes into food kids actually like — pasta, pizza, tomatoes. It does want warmth and lots of light, so it is a perfect late-spring start.
Mint is nearly indestructible, which makes it ideal for the child who waters too much or forgets. A word of warning: mint is a thug. Always grow it in its own pot or it will strangle everything around it. Kids love it because they can chew a leaf straight off the plant.
Chives are wonderful for small hands. They grow in a tidy clump, they regrow quickly after a haircut, and snipping them with safety scissors is satisfying practical-life work. The purple flowers in early summer are a bonus.
Parsley is the workhorse — sturdy, slow to bolt, and useful in almost everything. It is slower to germinate (two to three weeks), so I usually buy a parsley start rather than testing a young child's patience with seed.
Once those are thriving, branch into thyme, oregano, cilantro, or dill. A pre-mixed bundle of organic herb seed packets is an inexpensive way to give kids a menu to choose from, and choosing their own herb gives children real ownership of the project.
What You Need to Get Started
The beauty of a windowsill garden is how little it requires. Here is a sensible kit.
- Containers. Anything with a drainage hole works — yogurt cups with holes poked in the bottom are free and fine. If you want something that looks lovely on the sill and breathes well for the roots, a set of small 4-inch terracotta pots is hard to beat. Set them on saucers to protect the windowsill.
- Soil. Use a real potting soil for herbs, not soil dug from the yard, which compacts and may carry pests. A light, well-draining potting mix gives roots the air they need.
- Seeds or starts. Seeds are cheaper and more educational; starts (small nursery plants) give a faster, more reliable result. A mix of both is a nice approach — seed the basil and chives, buy the parsley.
- An all-in-one kit (optional). If you would rather not source pieces separately, a windowsill herb planter kit bundles pots, soil discs, and seeds into one tidy box, which makes a great gift or gentle on-ramp.
- Labels. Kids forget which cup is which within a day. A set of wooden herb plant labels — or just popsicle sticks and a marker — turns labeling into a sneaky literacy exercise.

Planting Day, Step by Step
Set up at the table with a tray or an old towel underneath to catch soil, and let go of the expectation that this will be tidy. The mess is part of the work.
- Fill the pots. Let your child scoop potting soil into each container until it is about three-quarters full, then tap the pot gently to settle it. A small scoop or even a sturdy spoon gives little hands the right tool for the job.
- Plant the seeds. For basil and chives, scatter a small pinch of seed across the surface and cover with a quarter-inch of soil. Resist over-seeding — children love to dump the whole packet, so I portion out a pinch into their palm first. For starts, dig a hole, set the plant in, and firm the soil around it.
- Press and label. Have your child press the soil down gently and push in the label. Saying the herb's name aloud as they plant builds the connection between word and plant.
- Water gently. This is where a small, child-controllable watering can or pitcher matters enormously. Water until you see a little drain from the bottom, then stop.
- Place in the light. Set the pots on your brightest windowsill, ideally one facing south or west that gets six-plus hours of sun.
The whole process takes about twenty unhurried minutes — exactly the kind of hands-on, screen-free project that absorbs a toddler completely. If you are building a roster of these, our list of screen-free activities for toddlers has more ideas in the same gentle spirit.
Daily Care Kids Can Truly Own
The magic of an herb garden is the routine. Hand as much of it to your child as their age allows, and keep your own hands off when you can.
Watering is the cornerstone job. Teach the finger test: push a finger an inch into the soil, and water only if it feels dry. This single habit prevents the most common kid-garden death, which is loving a plant to drowning. Most windowsill herbs want watering every two to three days.
Observing is the quiet, important part. A minute each morning to look closely — new leaves, a seedling that has unfurled, a stem leaning toward the light — builds the scientific habit of noticing. A simple chart where your child draws or checks off what they see turns this into real nature study. Herbs are a wonderful entry point into the kind of cross-curricular nature-based learning across subjects that weaves science, math, and language into everyday life.
Pinching and harvesting keeps plants bushy and gives children a reason to engage. Teach them to pinch basil just above a pair of leaves; the plant responds by branching into two. This is counterintuitive and delightful to kids — cutting the plant makes it grow more.

From Windowsill to Plate: Cooking With What You Grow
This is the step that closes the loop and makes the whole project click for a child. Growing food that nobody eats is a lesson half-learned. Plan, from the start, to cook with the harvest.
Begin with no-cook wins where the herb is the star and the flavor is unmistakable. A few ideas that have worked in our kitchen:
- Herb butter. Mash a handful of chopped chives or parsley into softened butter with a pinch of salt. Spread on warm bread. Kids can do almost all of it.
- Tear-and-top. Tear fresh basil over a margherita pizza or a plate of sliced tomatoes with a little olive oil. The contrast between the smell of the raw leaf and the taste on the food is the whole point.
- Mint water. A few bruised mint leaves in a pitcher of cold water makes "fancy water" that children feel proud to have made and served.
- Sprinkle finishes. Snipped chives over scrambled eggs, parsley over pasta, mint over fruit salad. The herb goes on at the very end, by the child, as the finishing flourish.
Let your child do the harvesting, the smelling, the tearing, and the sprinkling. The pride of a four-year-old announcing that they grew the basil on the pizza is worth far more than the basil itself.
Frequently Asked Questions
My seedlings are tall, pale, and floppy. What went wrong? That is "leggy" growth, and it almost always means too little light. The seedlings are stretching toward whatever sun they can find. Move them to a brighter window or add a small grow light, and consider snipping the weakest ones so the strongest have room.
How long will a kitchen herb garden last? Basil is an annual and will run its course over a single season, often bolting to flower by late summer — pinch off flower buds to extend it. Mint, chives, parsley, thyme, and oregano are more enduring and can carry on for many months or longer with regular harvesting and the occasional repotting into a larger container.
Do I need fertilizer? For the first several weeks, a good potting soil has enough nutrition. After about a month of active growth and harvesting, a half-strength dose of a gentle liquid fertilizer every couple of weeks keeps leaves lush. Less is more — overfed herbs grow fast but taste blander.
What if we have no sunny window at all? Then light is your one real obstacle, and an inexpensive clip-on grow light solves it completely. Mounted above a counter, it lets you grow a full herb garden in a windowless kitchen corner, on a timer, with no fuss.
Start Small, Start Today
You do not need the perfect setup to begin. One pot, a pinch of basil seed, and a sunny sill are genuinely enough. Plant it this week, hand the watering can to your child, and let the daily rhythm do the rest. In a few short weeks you will be tearing your own basil over dinner — grown on the windowsill, by a child who now knows, in their hands and their nose and their tastebuds, exactly where food comes from. That is a lesson that outlasts the season.
Frequently Asked Questions
- What herbs are easiest to grow on a kitchen windowsill?
- Basil, mint, chives, and parsley are the most forgiving for a kitchen windowsill. Basil and chives germinate fast and grow visibly within a week or two, mint is nearly impossible to kill, and parsley is sturdy once established. Cilantro and dill are trickier because they bolt quickly and resent being moved, so save them for later once your child has some confidence.
- How much light does a kitchen herb garden need?
- Most culinary herbs want six or more hours of direct sun a day, which usually means a south- or west-facing window. If your brightest window gives less than that, basil and parsley will get leggy and pale. A small clip-on grow light fixes the problem and lets you grow herbs on a counter that gets no direct sun at all.
- Can toddlers really help with an herb garden?
- Yes. Toddlers can scoop soil, drop seeds into a hole, press soil down, and water with a small pitcher. The key is giving them real, child-sized tools and accepting that some soil will end up on the floor. Watering, pinching off leaves to smell, and harvesting are all tasks a two- or three-year-old can genuinely own as part of a daily rhythm.
Enjoying this article?
Get more ideas like this delivered to your inbox every week.